Adding an icon

Adding an icon
- Grab the picture you want to use and head over to http://www.genfavicon.com/
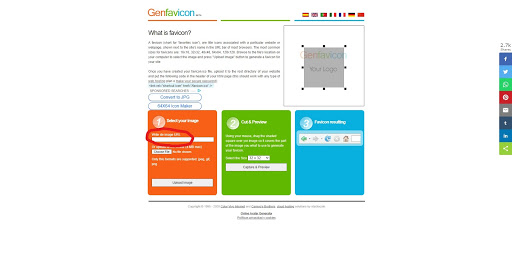
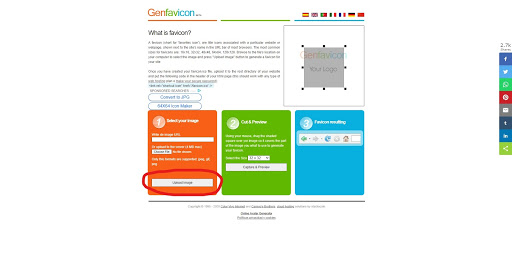
- Paste the image URL link or click choose a file to import a photo from your computer. Then click on the “Upload Image” button.
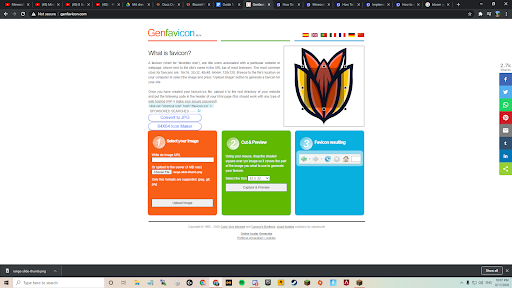
- Your image should pop up in the upper right-hand corner as seen below:
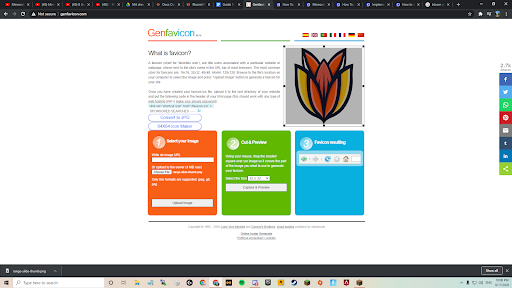
- You will then need to click and drag the little boxes to fit the part of the image you want to include.
- When you’re satisfied with the selection head down to the green box that says “cut and preview”. Under this heading, you should select a size in the dropdown menu. Select 64x64 then click capture and preview.
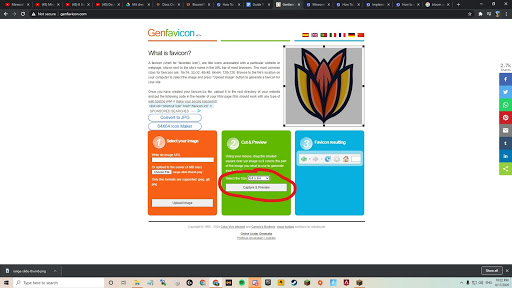
- After clicking you should then get an option saying “download png” click on this and save the file as “server-icon.png”.
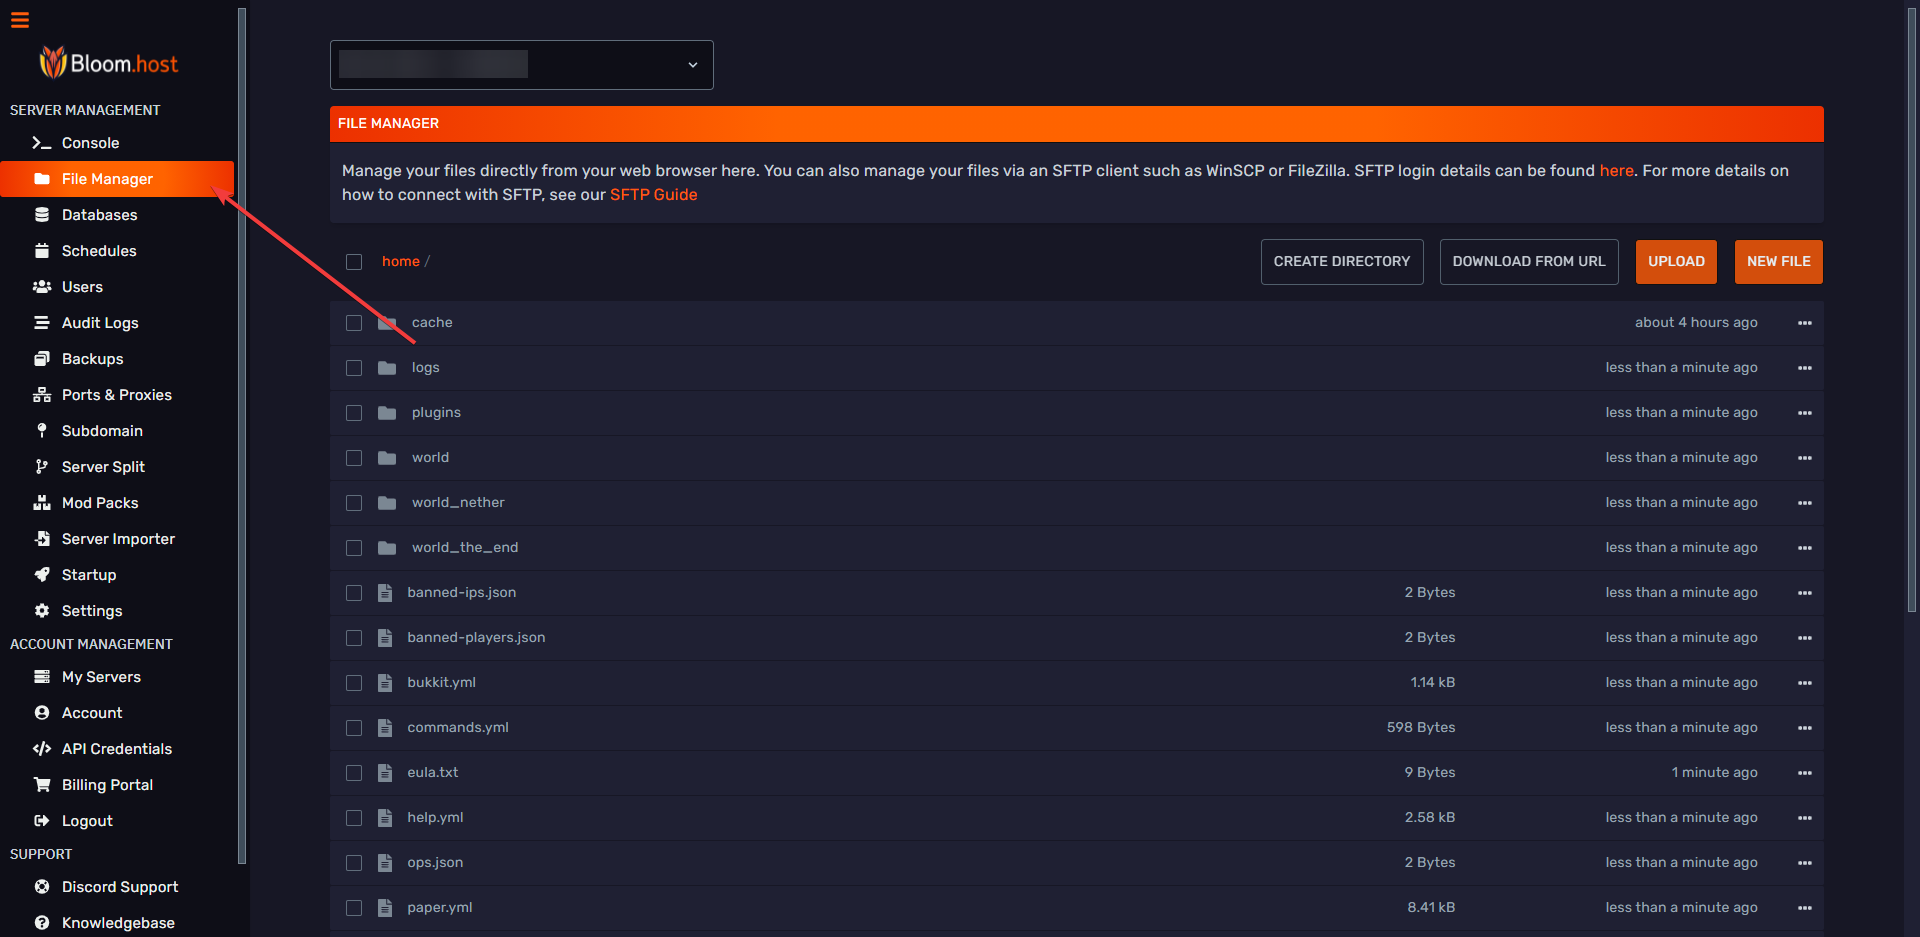
Now go to your server and open “file management” then open “file explorer” in the dropdown menu.
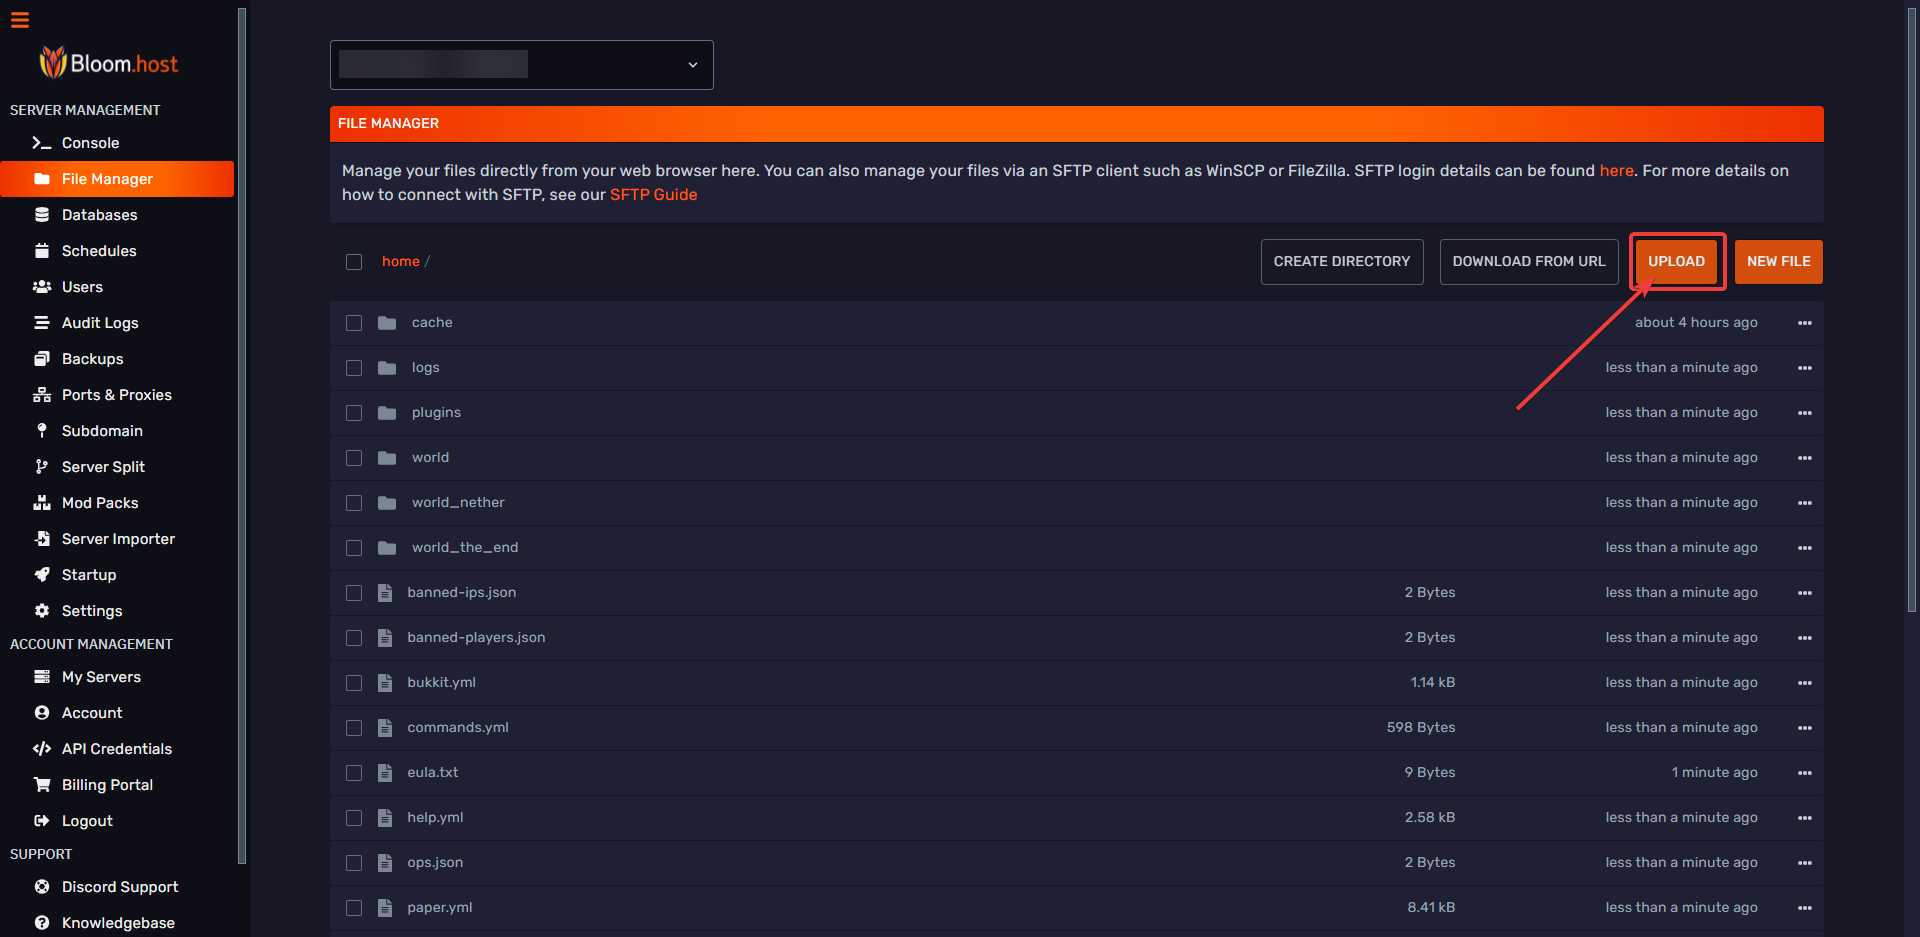
- Click upload and pick the icon you made, make sure you name the file exactly server-icon.png or this will not work.
Now, restart your server. Feel free to open a ticket on our Discord if you need any assistance.